7. Accessing The Jetstream Cloud
7.1. Learning Objectives:
Launching Jetstream instances
SSH Secure Shell login to instances
Jetstream instance maintenance
What we’re going to do here is walk through starting up a running computer (an “instance”) on the Jetstream service.
Jetstream is an [NSF/XSEDE] resource designed to promote and provide configurable cyberinfrastructure in the form of cloud computing to both novice and experienced users.
If you would like to read more about cloud computing, see this Carpentry Cloud Computing lesson.
NOTE: WINDOWS users will need to install a UNIX-ready terminal to SSH-login (if you haven’t already).
Options:
7.2. Login & Launch Instance
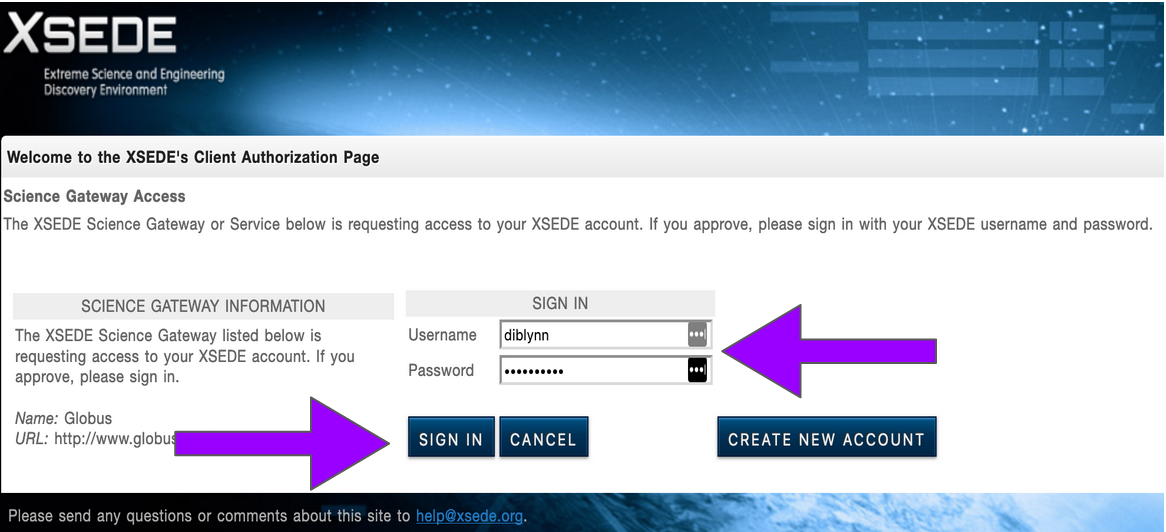
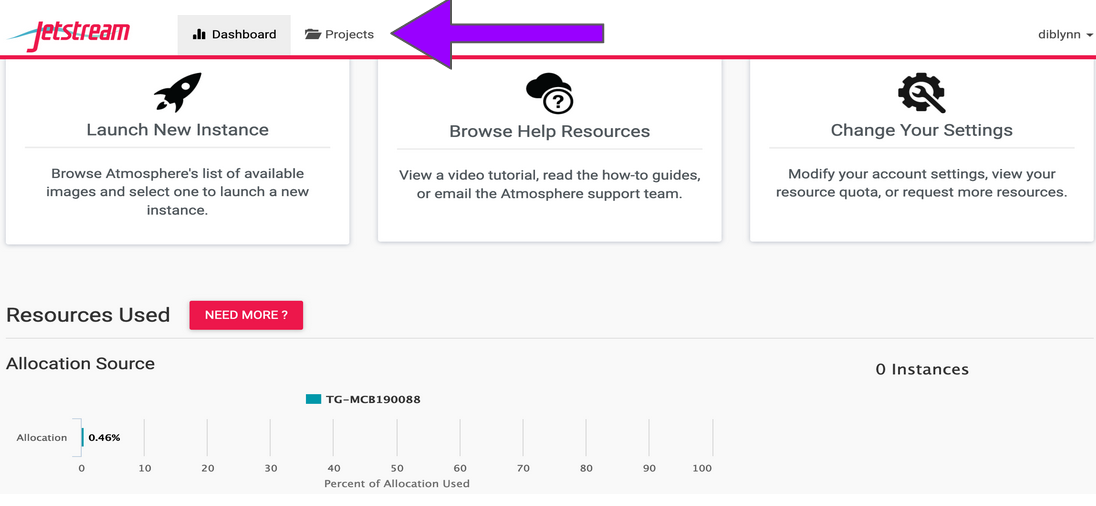
Login to Jetstream by clicking the “login” button towards the right-upper corner of the screen.
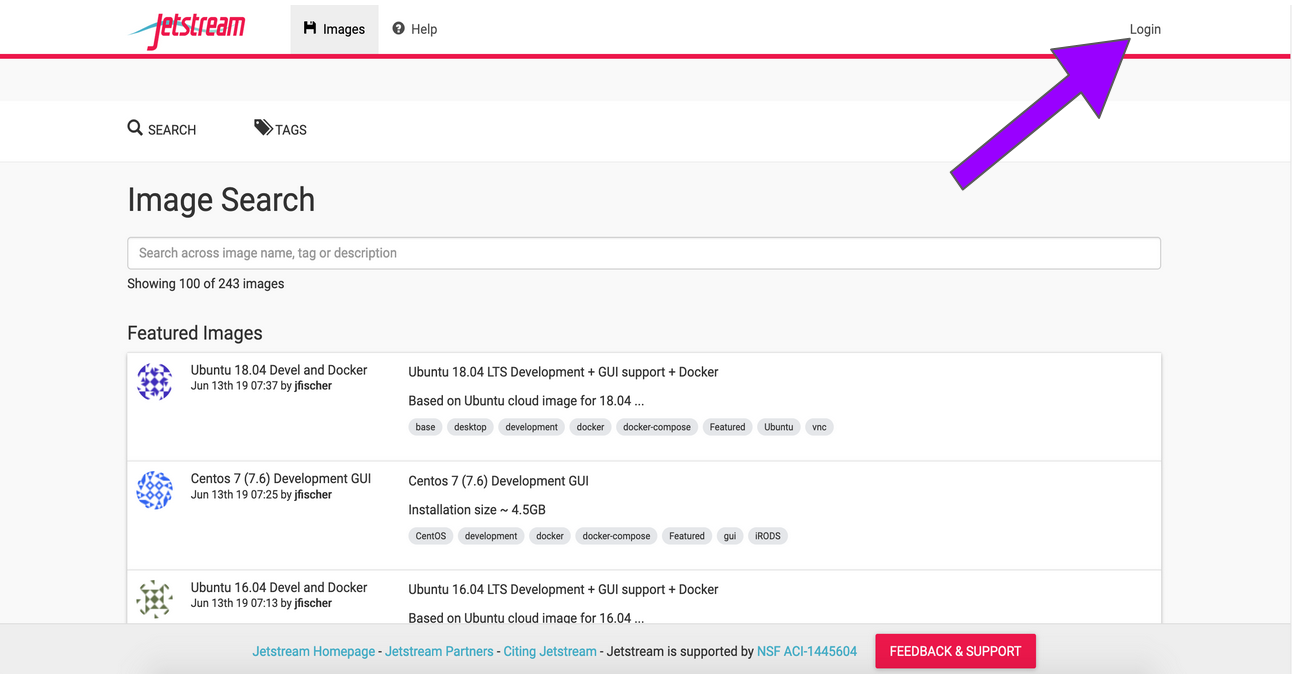
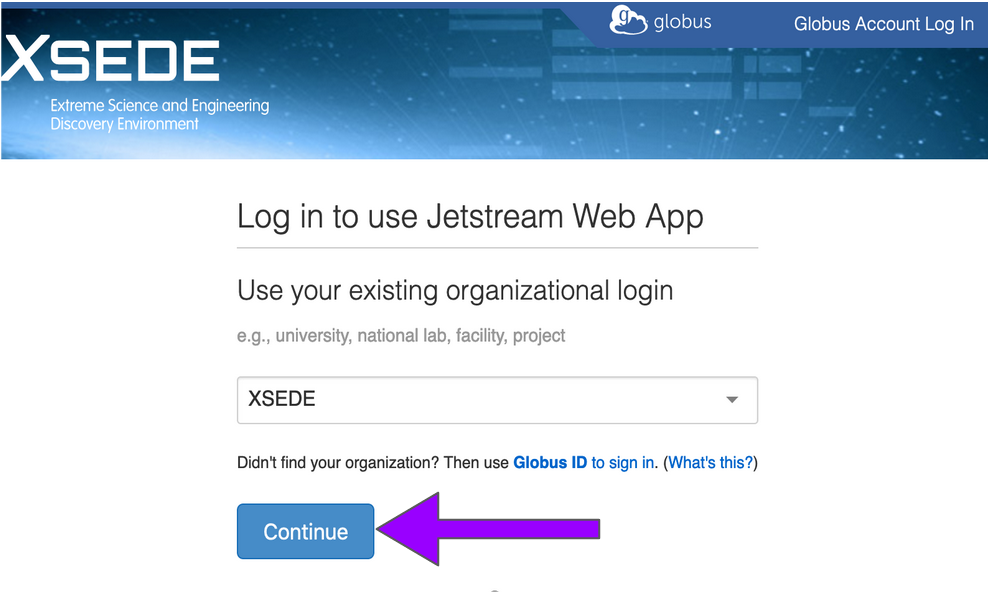
Fill in your Jetstream username and password and click “LOGIN”
Select the “Projects” tab and then click the “CREATE NEW PROJECT” button
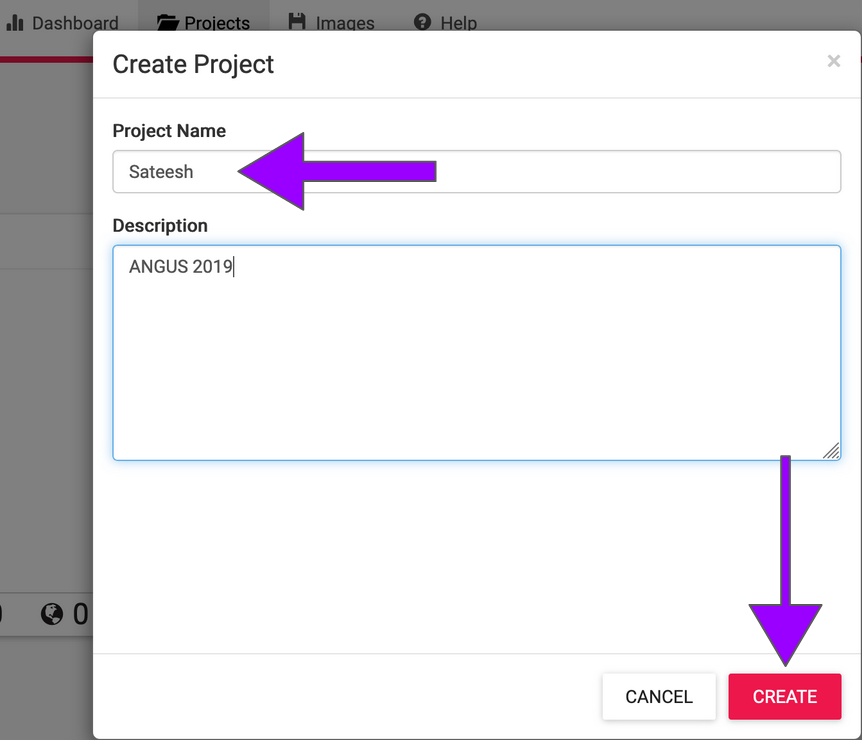
Give your Project folder a name, first and last name would be best while here (Description is optional). Then click “CREATE”.
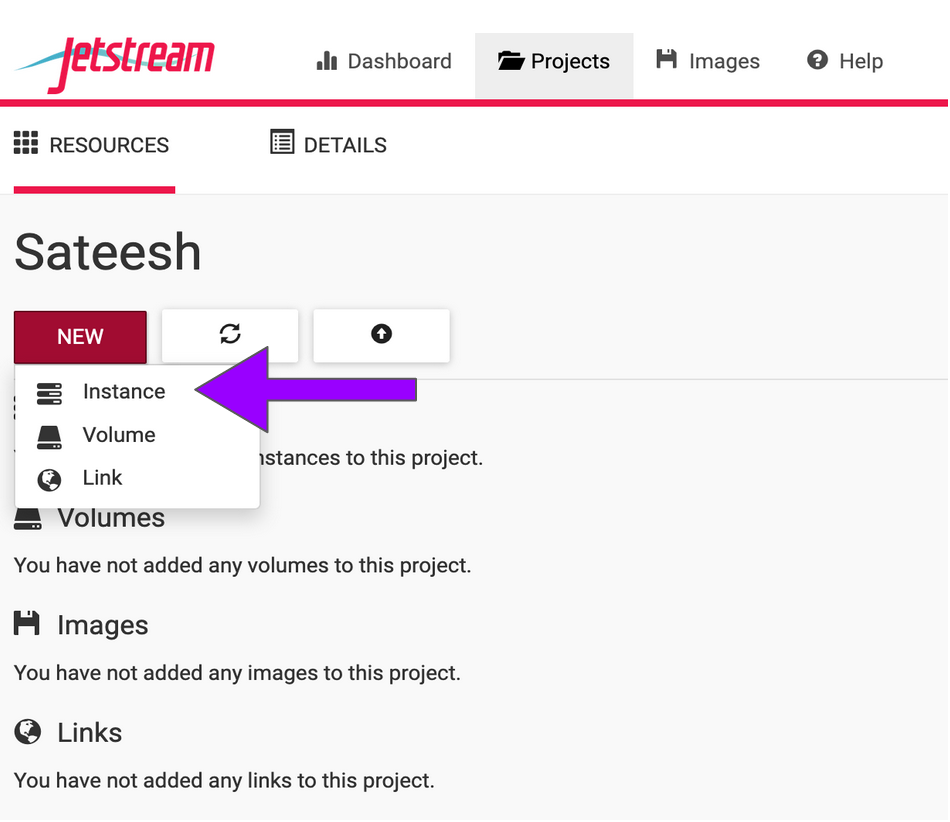
Click on your newly created project and then Click on “NEW” and then “Instance” from the drop-down menu to start up a new virtual machine.
To select an image click on “Show All” tab and Search for “ANGUS 2019” and choose the “ANGUS 2019” image created by ‘titus’.

NOTE: Here “Image” refers to the template of a virtual machine containing an installed operating system, software, and configuration stored as a file on disk. Think of it like apps that come with your phone before you add new ones on your own.
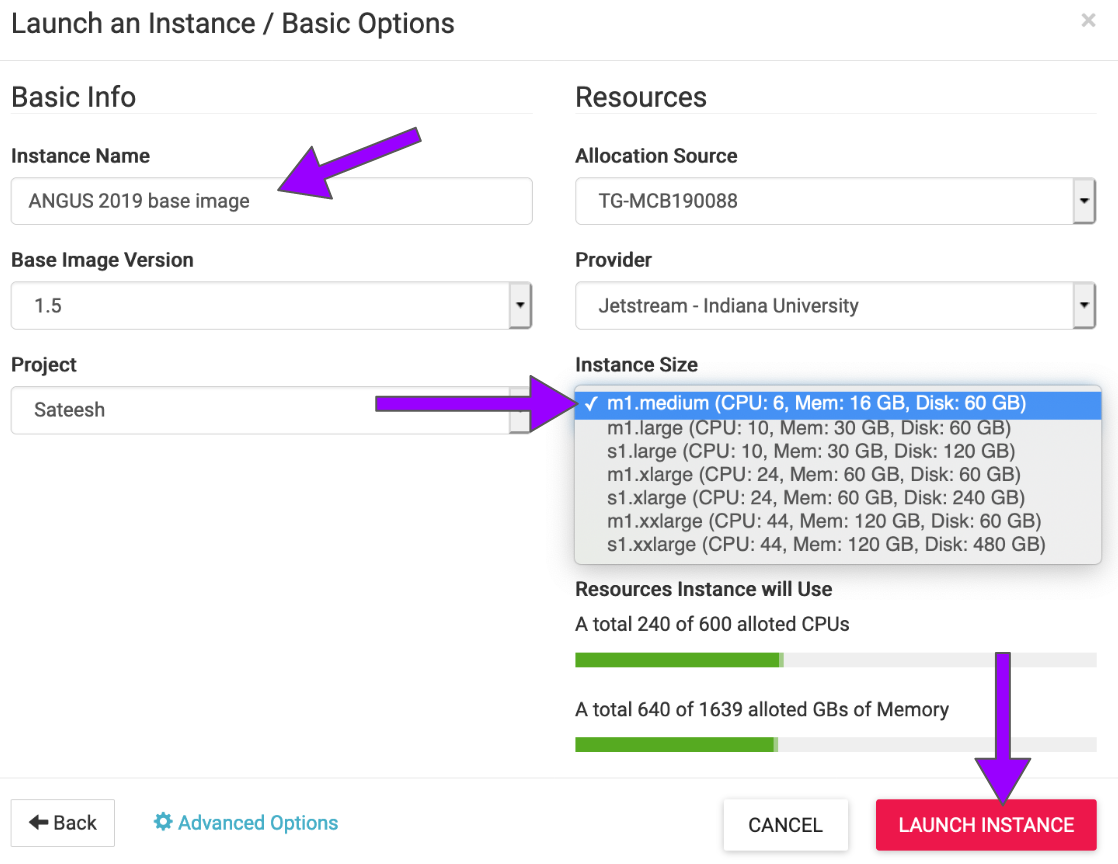
You will be presented with options to choose and configure your virtual machine here:
Instance Name: e.x., “ANGUS 2019 base image” or you can leave it default which is the image name.
Base Image Version: choose the latest version (not what’s in the below image)
Project: select your project folder
Allocation Source: TG-MCB190088
Provider: “Jetstream Indiana University”
Instance size: We recommend “m1.medium” (CPU: 6, Mem: 16GB, Disk: 60GB) for this tutorial; though depending on your allocations, choose the most suitable one.
NOTE: Choose the latest “Base Image Version” (not what’s in this below image), it should be the default.
Launch instance and wait for the build to be deployed (~ 5-10 minutes).
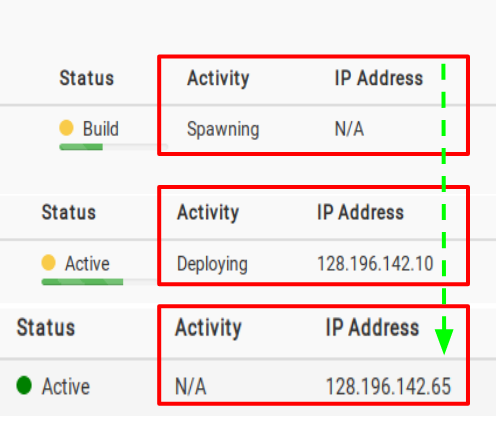
Note: During the build process:
scheduling-->building-->spawning-->deploying-->Networking-->N/A. Once the virtual machine is ready, the “Activity” column will show “N/A” and the “Status” column will turn green and “Active”.
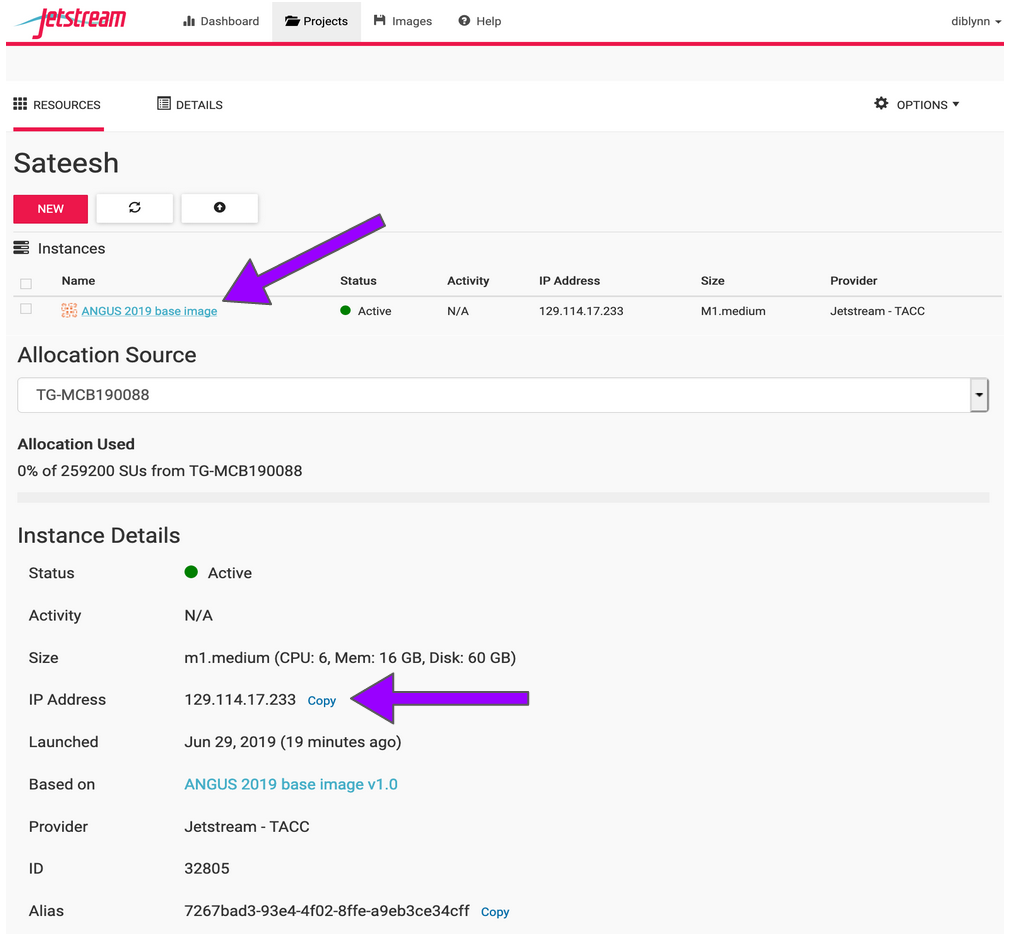
Navigate back to ‘Projects’ and click on your new instance’s name to see more information related to the instance you just created! and Copy the IP address of your instance created.
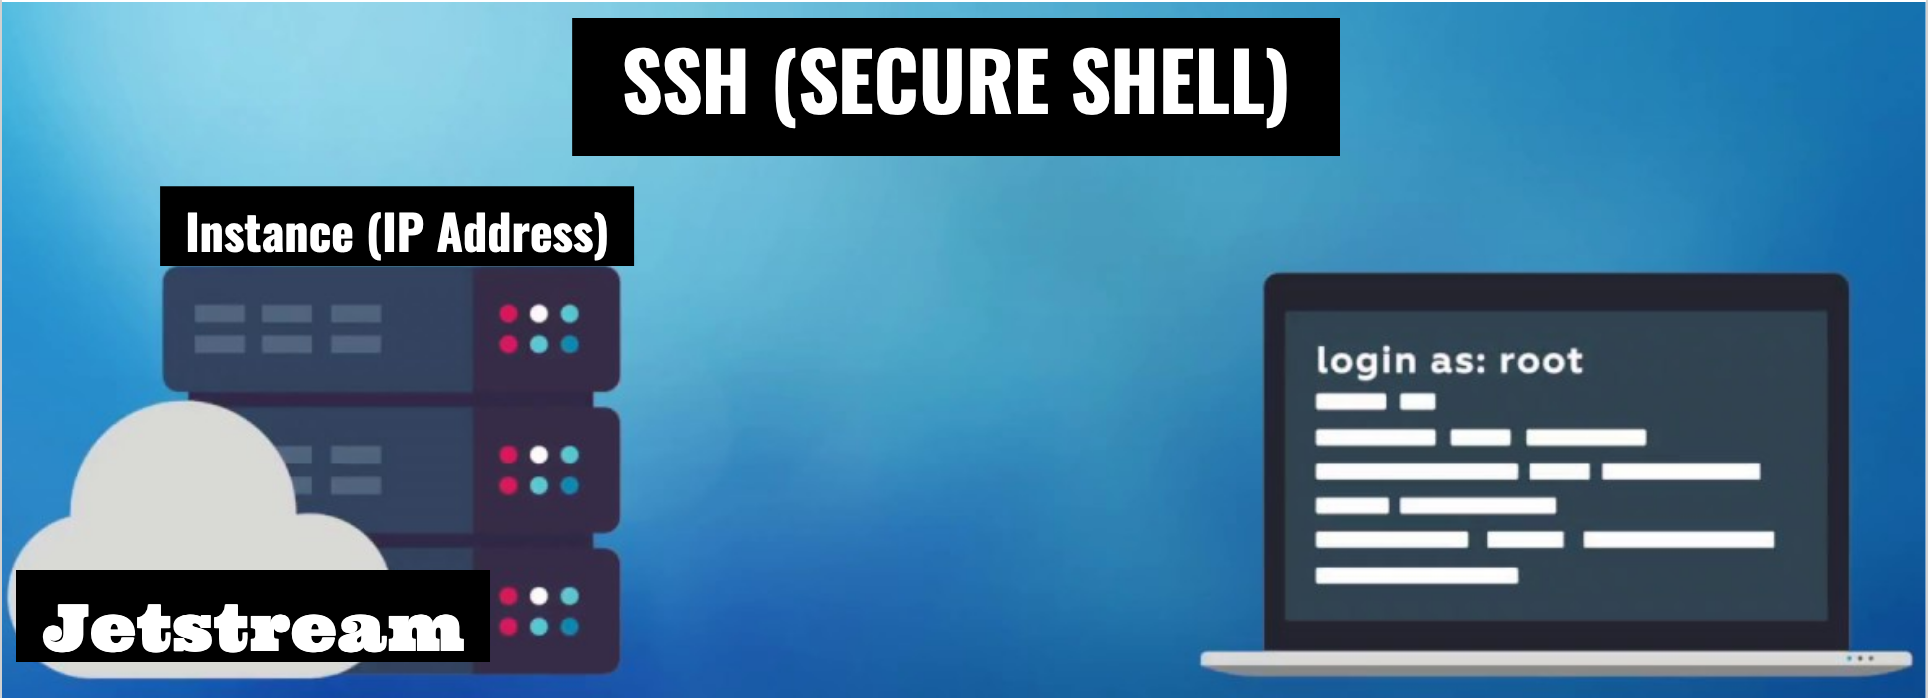
Great! We have now built our very own remote virtual machine with all the software pre-installed. Next we will use SSH-Secure-Login to access these remote instances from our laptop !!!.
7.3. SSH Secure-Login
macOS & LINUX users can open a Terminal window now.
Windows 10 users with ubuntu can open a terminal
If your windows doesn’t come with ubuntu distribution, users start a new session in git bash
Start a new session; Fill in your “remote host” the IP address of your virtual machine; select “specify username” and enter your Jetstream username; Click OK.
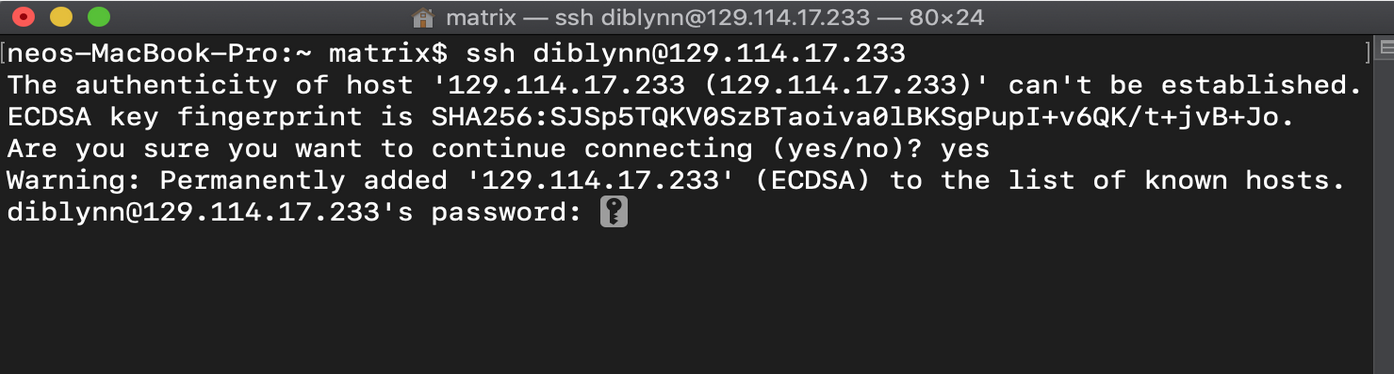
Establish a secure-login to the instance by typing the following:
$ ssh your_Jetstreamusername@ip_address
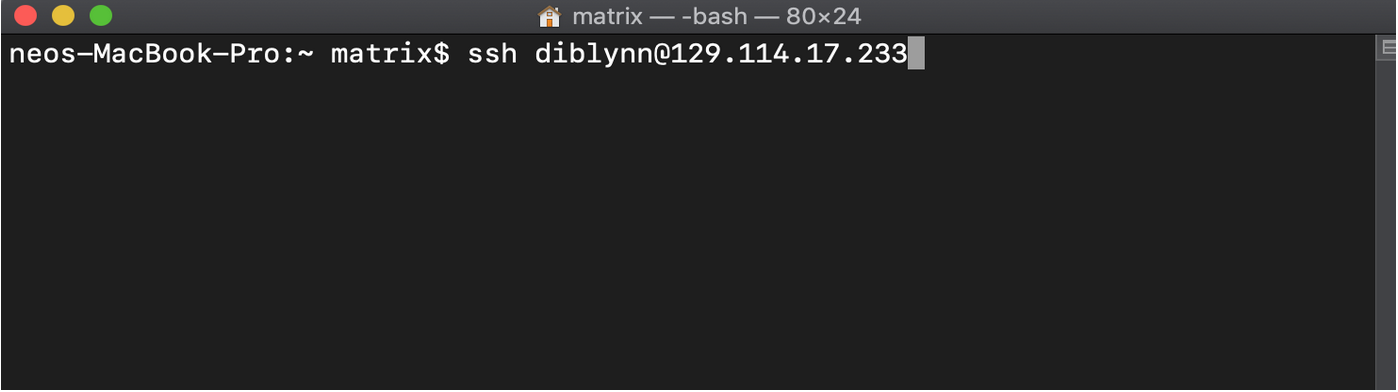
This should log you into Jetstream and you should see a screen like this; Enter ‘yes’ and then enter your Jetstream password.
Your cursor will not move or indicate you are typing as you enter your password. If you make a mistake, hit enter and you will be prompted again.
Success !!! We have established connections with our instances. Proceed to the Tutorial section.
7.4. Instance Maintenance
To end your current session on an Instance and close SSH connection, type ‘exit’
7.4.1. Jetstream Dashboard

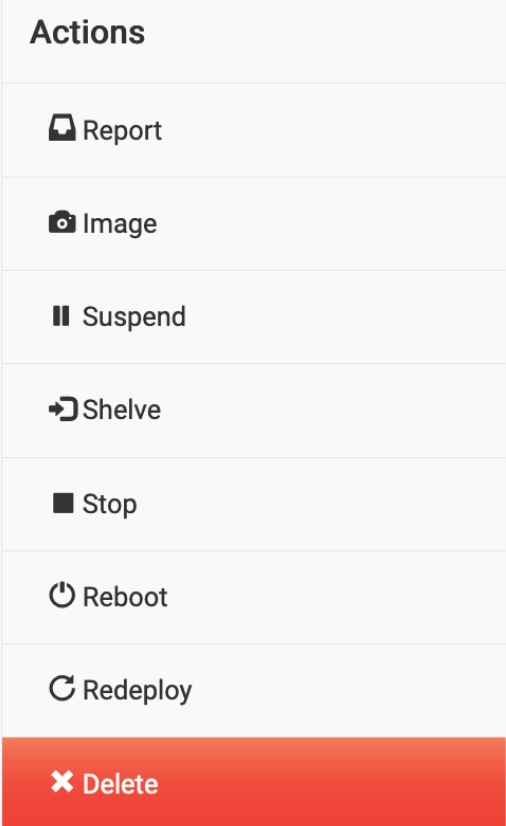
7.4.2. Instance Actions
| Action | Description |
|---|---|
| Report | instance exhibiting unexpected behavior? Report here |
| Image | Request an image (a type of template for a virtual machine) of a running instance |
| Suspend | Suspending an instance frees up resources for other users and allows you to safely preserve the state of your instance without imaging. Your time allocation no longer counts against you in the suspended mode |
| Shelve | Shelving will safely preserve the state of your instance for later use. And, it frees up resources for other users . In fact, it is the best way to reduce resource usage when compared with other actions, like "suspend" and "stop".Your time allocation no longer counts against you in the shelved mode |
| Stop | Stop an instance |
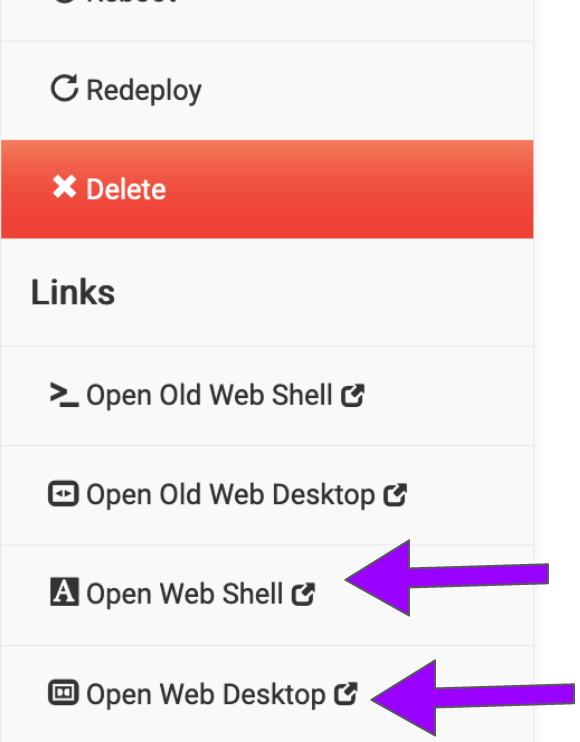
| Reboot | Reboot an instance |
| Redeploy | Redeploying an instance will allow you to fix instances that show up as 'active - deploy_error' |
| Delete | following instance will be shut down and all data will be permanently lost |
7.5. Additional Features
7.5.1. You can access a shell terminal and a web-desktop via your browser !!!